
Overview
When developing sites using HCLs Digital Experience, it may be necessary to make changes to:
-
Theme files in the WebDAV
-
Script Applications
When developing these assets, you will need a mechanism to deploy the changes to the digital experience server. This is where the dxdashboard comes in.
dxdashboard
What it is:
The dxdashboard is a developers tool for use with HCL Digital Experience.
What it accomplishes:
The dxdashboard allows developers to do the following:
-
Change and push files for themes that are stored in WebDAV
-
Change and push files for script applications
Where to obtain it:
https://github.com/hcl-dx/WebDevToolkitForDx
Setup
Follow the instructions from the github repository listed above to install the dxdashboard. Once you have it installed, you can run by issuing in the command prompt:
|
PS C:Userschrisdxdashmasteringdxappsmasteringdxscriptapp> dxdashboard |
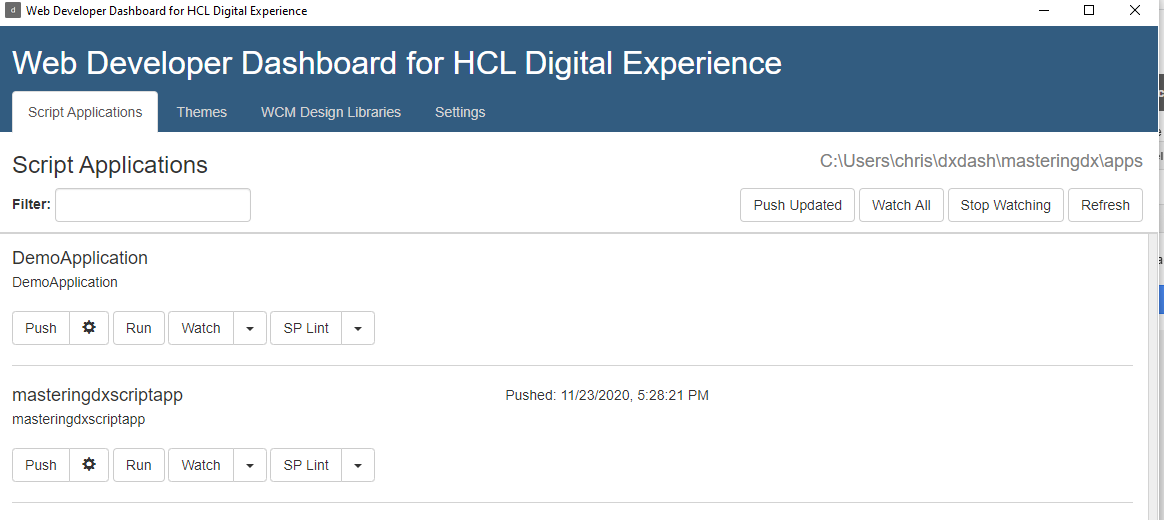
Once you have the tool running, you will be presented with the dashboard:

On the Settings tab, you will configure where the various pieces of the application are stored on your local environment. It will ask where to put Script Applications, Theme, and WCM Design Libraries.
For my configuration, I created a folder in the following location:
C:Userschrisdxdashmasteringdx
Then for the settings:
C:Userschrisdxdashmasteringdxapps
C:Userschrisdxdashmasteringdxthemes
C:Userschrisdxdashmasteringdxwcmlibs

In the server section, you will enter:
Name: the name of this connection.
User Name: the username you will authenticate with for the DX server
Password: the password you will authenticate with
Host: the host of your server
Port: the port for the server. For example, 10039 if you’re using default install
Content Handler: the context root of the contenthandler. Enter /wps/mycontenthandler unless its been changed.
Secure: check this if you use https and not http
Click save to save the connection and configuration information.
Theme Example
Retrieving Theme
When we first use the theme tab, it will be empty:

Click on Get Themes to review the themes on the server:

I will retrieve the CMKDemoTheme. In the text input under the name of the theme, I will enter CMKDemoTheme, then create Theme Folders:

After you push Create Theme Folders, you will see the following:

Now that you have the reference to the theme, click on the Pull button. This will retrieve the files to your filesystem.
Making Change
To make a change, you have to modify one or more files. Do to this, I am going to use vscode to bring in the theme files, and make a change.
I have opened the theme.html file:

I will add an extra class to the class list of the body tag, and then save the file:

Pushing Change
Now in the dashboard, click on the Push Updates button:

Note that if you click the Watch button, it will watch for changes in the filesystem for the theme files, and push them automatically.
Verify Change
After pushing the change, I look to one of the pages that is using my custom theme. Inspecting the source I see:

Actual theme development is above the scope of this document, but you can see how easy this tool makes it to get/modify/push files to the WebDAV for themes in Digital Experience.
Script Application Example
Now with script applications, it’s not possible to pull them from the server in the way you can with themes with this tool. You have to export from the server, put them in a location where the tool can be aware of them, and then push the changes.
Create Script Application and Download Locally
Put a page in edit mode, then add a Script Application to the page. See hcl documentation if necessary to see how to add applications to the page.
Once in edit mode, in the script application you can see:

Click Actions -> Export
This will give you a zip file containing

Now, in the folder for your dxdashboard where you configured to place script applications, create a new folder.
For example, I created a folder named DemoApplication:
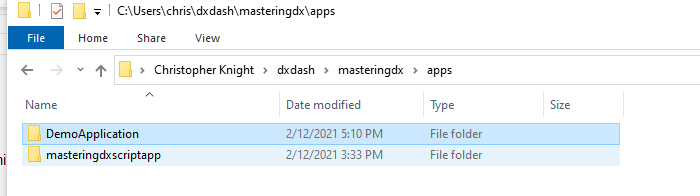
I placed the 2 files from the zip into the DemoApplication folder.

And now in the Dashboard, on the Script Applications tab, I click the refresh button and now see my DemoApplication:
Change Local Application
Now, in ide or txt editor or whatever you want to use to modify files, open the index.html file from the DemoApplication folder. Make a change in the html, I added CMK TEST:

Save the changes to your file.
Push Changes
Now in the dxdashboard, click on the Push button in the DemoApplication:

You will see the spinner, and the changes will be pushed to the server.
Navigate back to the page where you created the application, and refresh the page. Your change will be displayed in the script application: